
If you’ve been putting off switching to a BLDC fan because installation sounds complicated – stop right there. Yes, it looks technical on paper. But once you lay everything out and follow the steps properly, it’s a straightforward job that most people can handle without calling an electrician.
First, What is a BLDC Fan?
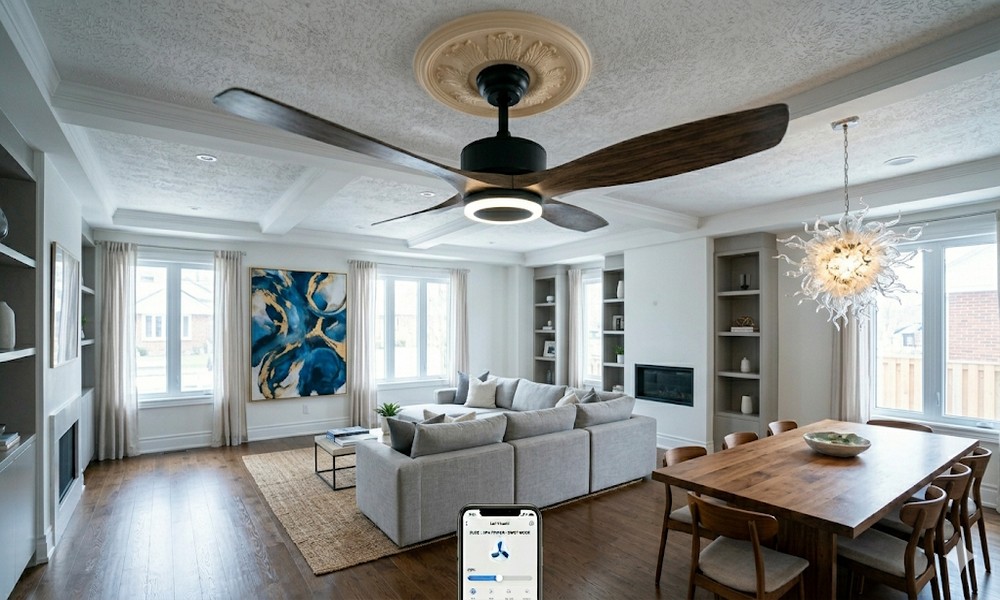
Unlike your regular ceiling fan that runs on an induction motor, a BLDC – Brushless Direct Current – fan runs on a brushless motor powered by direct current. No brushes means less friction, less noise, less wear, and dramatically less electricity consumed – up to 65% less compared to a conventional fan. You’ll feel that difference on your monthly bill. Add whisper-quiet operation, longer lifespan, and remote control features, and it’s easy to see why more households are making the switch.
Read also:- What is BLDC Fans
What You’ll Need Before Starting
Keep these tools ready before you climb that ladder:
- Screwdriver set
- Drill machine (only if new holes are needed)
- Pliers and insulation tape
- A stable ladder
Your fan kit should already include the motor assembly, blades, canopy, downrod, screws, and remote control. Lay everything out first – it saves a lot of back-and-forth mid-installation.
The Installation, Step by Step
Cut the power first. Switch off the main supply from your circuit breaker before touching anything. Never work on live wiring – this is the one step you simply cannot skip.
Fix the mounting bracket. Secure the bracket firmly to the ceiling hook or beam using the screws provided. A wobbly bracket means a wobbly fan, so take your time here.
Attach the downrod to the motor. Slide the downrod into the motor assembly, insert the safety pin, and tighten the screws properly. This connection carries the entire weight of the fan.
Connect the wiring. Match the fan wires to the ceiling supply – black or red is live, blue or yellow is neutral, green is earth. Wrap every connection securely with insulation tape before moving ahead.
Hang the motor and attach the blades. Lift the motor onto the ceiling bracket, slide the canopy loosely into place, then screw each blade into the motor assembly. Check alignment carefully – uneven blades are the number one cause of wobbling and unnecessary noise during operation.
Fit the remote receiver and close the canopy. Tuck the receiver unit inside the canopy as per your model’s instructions, then secure everything shut neatly.
Restore power and test. Switch the main supply back on and test using the remote or regulator. Listen for any unusual sound and check for wobble at different speed settings.
Is It Worth the Effort?
Absolutely. Once installed, a BLDC fan runs quietly, consumes minimal electricity, and lasts years without major maintenance. For any household looking to cut electricity costs without sacrificing comfort, it’s one of the smartest upgrades you can make.
Follow the steps, take it slow, and the job is done well within an hour.